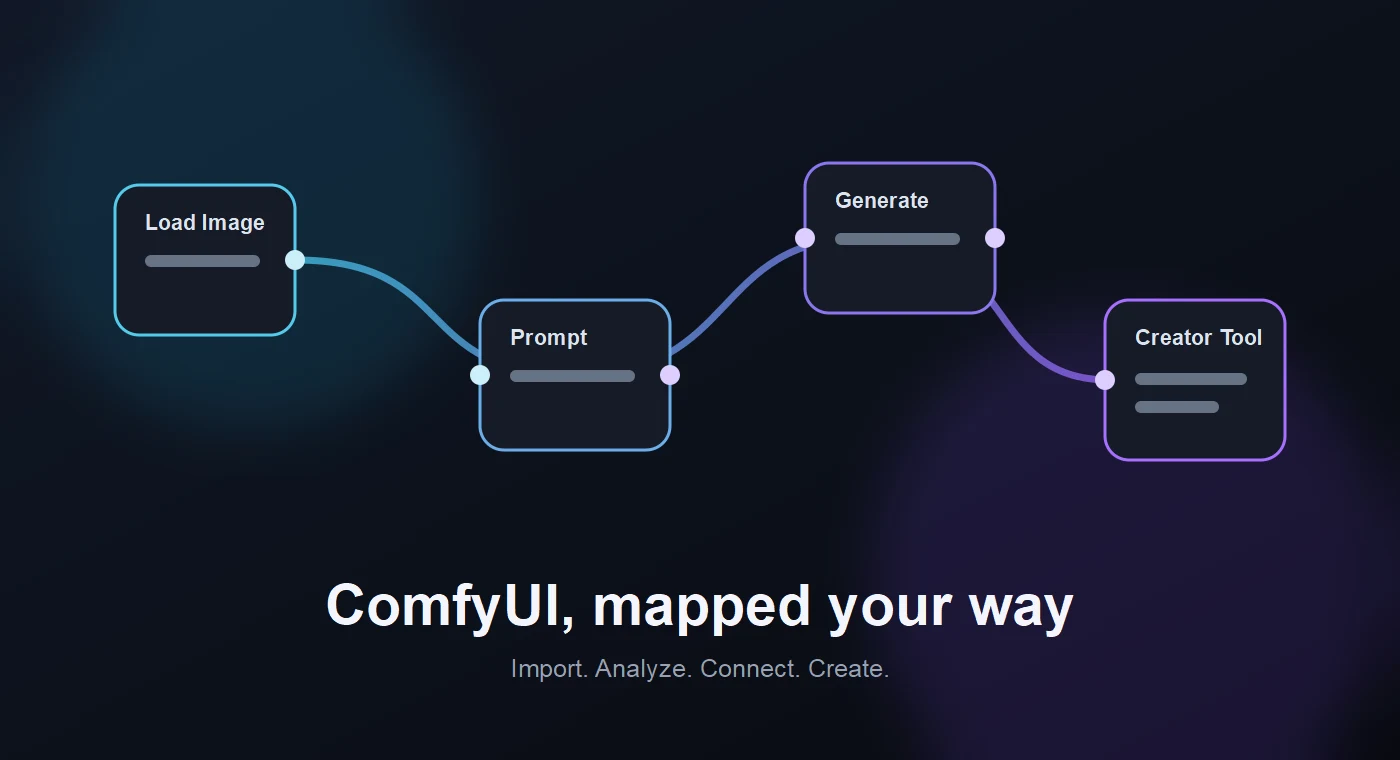
ComfyUI support lets you keep the flexibility of a node graph while using Creator Studio for friendly inputs, reusable tool integrations, media uploads, job progress, and generation history. This guide walks through the complete setup—from exporting your first workflow to running the same graph from Image Generation, Swap, Video, Motion Control, Upscale, Audio, or Lipsync.
How the integration works
Creator Studio does not replace ComfyUI or install its models and custom nodes. ComfyUI remains the execution engine. Creator Studio reads an API-format workflow, changes only the literal inputs you explicitly expose or map, uploads required media to ComfyUI, queues the graph, and collects the resulting image, video, or audio.
You can use a saved workflow in two ways:
- Standalone runner: open the ComfyUI workspace and fill in the workflow inputs directly.
- Creator Studio tool integration: map workflow inputs to the built-in values and additional controls of a compatible tool.
Those interfaces are independent. An input can appear in the standalone runner, be available to tool mappings, do both, or do neither.
1. Prepare ComfyUI
- Start ComfyUI and wait until its web interface is available.
- Confirm the workflow runs successfully inside ComfyUI first.
- Install every model and custom node used by the workflow on that ComfyUI server.
- In Creator Studio, open Settings → API Keys → ComfyUI Settings.
- Enter the API URL. A typical local installation is
http://127.0.0.1:8188, then save Settings.
Desktop Creator Studio can connect directly to local ComfyUI. For hosted Creator Studio with local ComfyUI, connect Creator Studio Companion so the hosted interface can reach the local service without making ComfyUI public.
2. Export API-format JSON
Creator Studio needs ComfyUI’s executable API graph: node IDs containing class_type and inputs. The normal visual workflow file contains editor layout information and cannot be queued through the API.
- Open ComfyUI Settings using the gear icon.
- Enable developer mode if “Save (API Format)” is not visible.
- Return to the ComfyUI menu and choose Save (API Format).
- Re-export after materially changing nodes or input paths.
If you import UI-format JSON by mistake, Creator Studio identifies it before execution and explains how to export the correct version.
3. Import the workflow
- Open the ComfyUI workspace in Creator Studio.
- Choose the import control and select the API-format JSON file.
- Give the workflow a recognizable name.
- Choose Auto Setup for guided integration, or save it as standalone and configure it manually.
Creator Studio discovers literal node inputs. When ComfyUI is online, it uses /object_info to identify datatypes, dropdown choices, numeric ranges, multiline text, required inputs, and known media loaders. Offline, it falls back to the workflow JSON and marks uncertain custom inputs accordingly.
4. Choose the correct category
The category controls exactly where a workflow is offered:
- Image Generation: Image Generation and generative image slots.
- Image Edit: Image Edit, all three Swap tabs, Try On, Copy, Skin, and compatible Photoshoot or Character Builder edit slots.
- Video Generation: Video generation surfaces.
- Motion Control: character-image and driving-video workflows.
- Image Upscale / Video Upscale: the matching Upscale mode.
- Audio Generation: Audio Studio workflows.
- Lipsync: image-and-audio lipsync workflows.
- Other: standalone ComfyUI workspace only.
Changing category preserves incompatible bindings as dormant data instead of deleting them.
5. Use Auto Setup
- Review the suggested category and correct it if needed.
- Select one or more compatible Creator Studio tools.
- Choose Set up tools. The assistant analyzes node names, datatypes, media roles, and built-in tool values.
- Review the proposed mappings and additional controls.
- Approve only when the proposed destinations match the intended nodes.
Auto Setup is a proposal, not an execution. Nothing is saved until you approve it, and every mapping remains editable. Choose Standalone only if you prefer manual setup.
6. Configure workflow input availability
Select the saved workflow and open Workflow input availability. Search by node, input, datatype, or path, and filter mapped, unmapped, or media inputs.
- Show in standalone runner adds the input to the standalone interface.
- Available to tool mappings makes it a destination in compatible tools.
- Refresh ComfyUI types reloads live metadata from the server.
- Mark all compatible and Clear mappable provide bulk controls.
Graph links such as ["12", 0] are never offered as destinations. Model, latent, conditioning, tensor, and other internal sockets cannot be injected directly. For media, map the filename widget on a loader node—not its IMAGE, MASK, AUDIO, or LATENT output.
7. Enable universal tool controls
- Open Settings → General.
- Turn on Show ComfyUI input controls.
- Return to a compatible generation tool.
- Use the small Comfy icon beside its model selector or generation section.
This preference only reveals customization controls. It never changes the selected model, hides normal providers, or redirects their requests through ComfyUI.
8. Create additional inputs
Open the drawer’s Inputs tab and choose Add input. Inputs belong to that exact tool surface and can be reused across every compatible workflow. They can be renamed, reordered, duplicated, or deleted.
Supported controls include:
- Single-line and multiline text.
- Integer, decimal, and slider controls with minimum, maximum, and step.
- Boolean toggles and choice menus.
- Image, mask image, video, audio, and generic file uploads.
- Advanced JSON literals for custom widgets that genuinely store serializable objects or arrays.
Scalar values are remembered separately for each tool and workflow. Uploaded media remains session-only and is never persisted inside settings as a data URL.
9. Map sources to destinations
Open Workflow mappings and select a compatible workflow. Built-in sources—prompt, source image, character image, driving video, audio, duration, scale, width, height, or FPS—appear alongside your additional inputs.
- Identify the destination by node title, field, datatype, node ID, and JSON path.
- Choose the tool source that should feed it.
- Leave it on Use saved workflow value when the JSON value should remain unchanged.
- Repeat for every value the tool must control.
- Choose Test mapping before generating.
Each destination accepts one source. One source may feed several destinations—for example, one prompt can populate two encoders or one reference image can feed repeated loaders. There is no fixed limit on fields or mappings.
10. Preview and run
The Preview tab shows exactly which extra controls will appear, along with required-field and mapping status. Use Edit workflow inputs to jump back to the workflow.
Select that exact Comfy workflow as the tool’s model. Its “ComfyUI inputs” card then appears near the normal controls. Switching to a regular provider hides the card without clearing remembered scalar values.
Before uploading, Creator Studio validates category, API format, destination paths, mappings, and required values. Unique media is uploaded concurrently and reused if it feeds multiple loader nodes. Creator Studio clones the graph, applies typed values only to validated literal paths, leaves unmapped nodes unchanged, queues ComfyUI, and returns the first primary image, video, or audio through normal progress and History.
Keeping mappings healthy
Mappings persist IDs and paths, not labels, so renaming a control does not break it. Replacing nodes or changing node IDs can create stale mappings. Creator Studio blocks stale destinations before upload and identifies what needs attention.
- Export fresh API-format JSON after changing the graph.
- Update or re-import the workflow.
- Refresh ComfyUI types.
- Review stale warnings and run Test mapping again.
Troubleshooting
- Connection failed: confirm ComfyUI is running, verify its URL and port, and check firewall or Companion status.
- UI-format warning: enable developer mode and export with Save (API Format).
- Workflow missing from a tool: verify its category matches that surface.
- No destinations: mark literal inputs Available to tool mappings.
- Custom node missing: install it on the connected ComfyUI server and restart or refresh ComfyUI.
- Old choices or ranges: reconnect and use Refresh ComfyUI types.
- Graph link not listed: map a literal widget or loader filename instead of an internal socket.
- Stale mapping: remap the source to the new node path and test again.
Privacy, storage, and cost
ComfyUI models run wherever your connected server runs. Hardware use, model licenses, custom-node security, and remote Comfy hosting charges remain yours. Creator Studio stores workflow JSON and scalar configuration but not raw session uploads inside settings. Generated results follow your selected Creator Studio media-storage destination.
For the smoothest first setup, start with a small workflow containing one prompt, one loader if needed, and one output. Confirm standalone execution, map it into one tool, run Test mapping, and then expand it.